
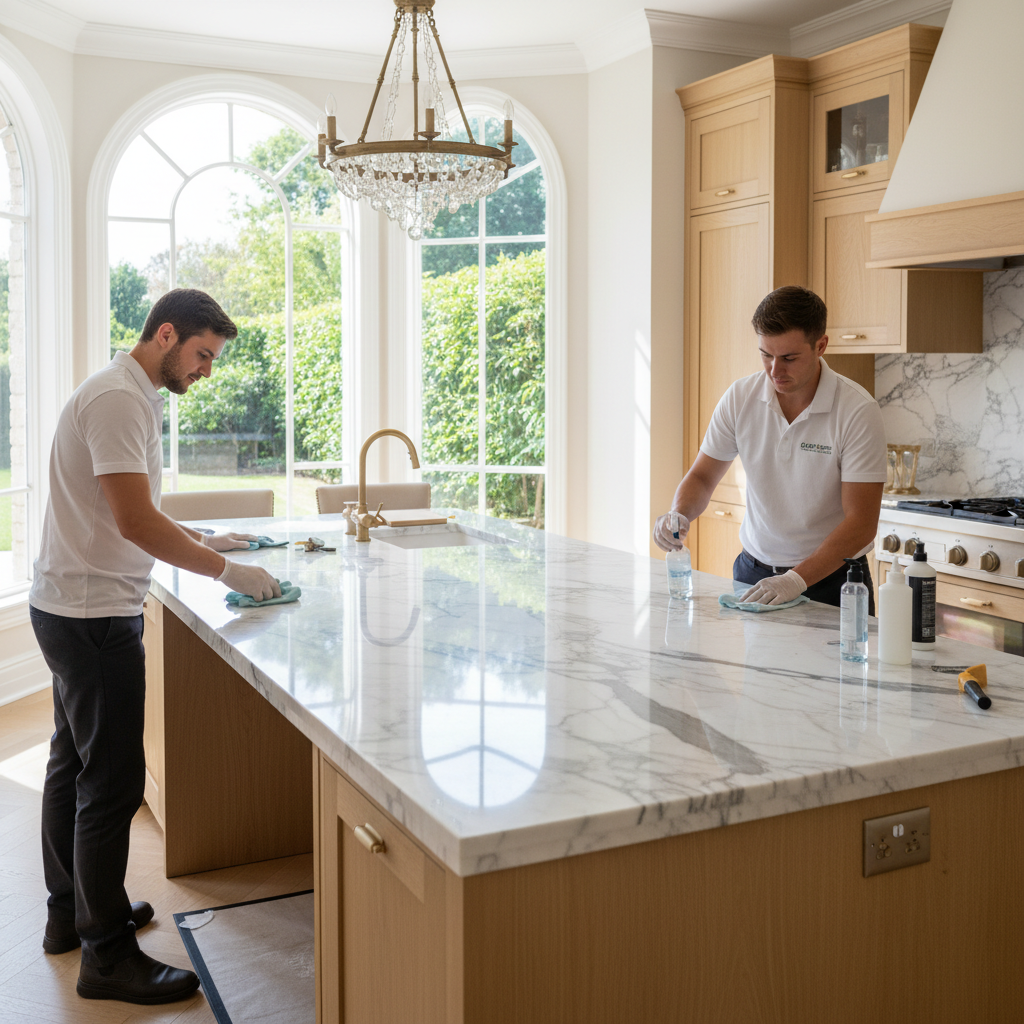
Mastering Marble: The Essential Guide to Sealing Your Luxurious Countertops
Preserve the timeless beauty and inherent value of your marble countertops with proper sealing. This comprehensive guide delves into why, when, and how to effectively seal your marble surfaces, ensuring their longevity and enduring elegance against daily wear and tear. Discover expert insights and practical steps to maintain the pristine condition of your investment.
Mastering Marble: The Essential Guide to Sealing Your Luxurious Countertops
Marble countertops, with their exquisite veining and luminous finish, are a hallmark of luxury and sophistication in any space. From grand kitchens to opulent bathrooms, the natural beauty of marble elevates interiors, offering a unique blend of classic charm and contemporary elegance. For discerning homeowners, designers, and architects in Southwest Florida, choosing marble is an investment in unparalleled aesthetics and enduring style. However, to truly preserve this investment and maintain its pristine condition for decades to come, understanding the critical role of sealing is paramount.
Unlike engineered surfaces, natural marble is a porous material. This inherent characteristic, while contributing to its unique tactile quality, also makes it susceptible to staining and etching if not properly protected. This guide will demystify the process of sealing marble countertops, providing you with the knowledge and practical steps to ensure your luxurious surfaces remain as breathtaking as the day they were installed.
Understanding Marble's Porosity: Why Sealing is Non-Negotiable
Marble is a metamorphic rock, primarily composed of recrystallized carbonate minerals, most commonly calcite or dolomite. Its crystalline structure, while incredibly beautiful, also contains microscopic pores and capillaries. These tiny pathways can absorb liquids, making marble vulnerable to a range of potential issues:
- Staining: Spills from common household items like wine, coffee, olive oil, fruit juices, and even cleaning agents can penetrate the surface and leave unsightly, permanent stains. The vibrant pigments and acidic components in these substances can deeply embed themselves within the stone if not promptly addressed and if the stone is unsealed.
- Etching: Beyond staining, marble is also highly susceptible to etching. This occurs when acidic substances (such as lemon juice, vinegar, or certain cleaning products) react with the calcium carbonate in the marble, dissolving the polished surface. The result is a dull, rough spot that detracts from the stone's natural luster. While sealing does not prevent etching, it creates a barrier that can buy precious time to wipe away spills before they cause damage.
- Bacterial Growth: While less common than staining, unsealed pores can also harbor bacteria, especially in kitchen and bathroom environments, posing hygiene concerns.
Sealing acts as a protective barrier, filling these microscopic pores and preventing liquids from penetrating the stone's surface. It creates a hydrophobic layer that repels water and oil-based substances, buying you valuable time to clean up spills before they cause permanent damage. Think of it as an invisible shield, preserving the integrity and beauty of your marble.
Identifying the Need for Sealing: The Water Test and Beyond
How do you know if your marble countertops need sealing, or if an existing seal is still effective? The most straightforward method is the water test:
- Preparation: Ensure your countertop is clean and completely dry.
- Application: Pour a small amount of water (about a quarter-sized puddle) onto an inconspicuous area of your marble surface.
- Observation: Let the water sit for approximately 10-15 minutes.
- Interpretation:
- If the water beads up: The seal is likely effective. The water will form distinct droplets and remain on the surface without being absorbed.
- If the water darkens the stone or is absorbed: Your marble needs sealing. This indicates that the pores are open and readily absorbing moisture.
Beyond the water test, consider these indicators:
- Installation: Newly installed marble, unless pre-sealed by the fabricator, will almost certainly require sealing.
- Last Seal Date: If you know when your marble was last sealed, you can plan for reapplication based on the sealant's recommended lifespan (typically 1-3 years, but varies by product and traffic).
- Visible Stains: Frequent or difficult-to-remove stains are a clear sign that your marble's protective barrier is compromised.
Regularly performing the water test, perhaps every 6-12 months, will help you proactively maintain your marble's protection.
The Sealing Process: A Step-by-Step Guide for Lasting Protection
Sealing marble is a relatively simple process that can be performed by a homeowner, though for optimal results, especially for high-value installations, consulting with a professional stone care specialist is always recommended. Here's a general outline:
Step 1: Thorough Cleaning
Before applying any sealant, your marble must be impeccably clean and dry. Any dirt, grease, or existing stains trapped under the sealant will be permanently sealed in. Use a pH-neutral stone cleaner specifically designed for marble. Avoid harsh chemicals, acidic cleaners, or abrasive scrubbers, which can damage the stone. Rinse thoroughly with clean water and allow the surface to air dry completely, which may take several hours or even overnight.
Step 2: Choosing the Right Sealer
Not all sealers are created equal. For marble, you'll want an impregnating sealer (also known as a penetrating sealer). These sealers do not form a film on the surface but rather penetrate into the pores of the stone, creating a breathable barrier. Avoid topical sealers, which can chip, peel, and alter the natural look of the marble.
Look for sealers specifically formulated for natural stone, and ideally, for marble. Many reputable brands offer excellent impregnating sealers. Consider products that offer both oil and water repellency for comprehensive protection. Always read the manufacturer's instructions carefully, as application methods can vary slightly between products.
Step 3: Application of the Sealer
Work in small, manageable sections to ensure even application. Apply the sealer generously and evenly using a clean, lint-free cloth, a paint pad, or a sponge applicator. Ensure the entire surface is wet with the sealer. Allow the sealer to dwell on the surface for the time recommended by the manufacturer (typically 10-20 minutes). During this time, the marble will absorb the sealer.
Step 4: Removing Excess Sealer
This is a crucial step. Do not allow the sealer to dry on the surface. Before the sealer dries, use a clean, dry, lint-free cloth to thoroughly wipe off any excess. Buff the surface gently to ensure no residue remains. If allowed to dry, excess sealer can leave a hazy film or streaks that are difficult to remove. If you notice any hazing after drying, you may need to reapply a small amount of sealer to the affected area and immediately wipe it off with a clean cloth, buffing vigorously.
Step 5: Curing Time
Allow the sealer to cure completely according to the manufacturer's instructions, which can range from 24 to 72 hours. During this curing period, avoid placing heavy objects, using the countertop, or exposing it to water or food spills. The curing process allows the sealer to fully bond within the stone's pores, achieving maximum protection.
Step 6: Regular Maintenance & Reapplication
Even with proper sealing, marble requires ongoing care. Clean daily spills immediately with a soft cloth and a pH-neutral cleaner. Avoid abrasive pads, acidic cleaners, or harsh chemicals. Regularly perform the water test to determine when reapplication is necessary. Depending on traffic, usage, and the specific sealer used, re-sealing is typically recommended every 1-3 years.
Preserving Your Investment: The Long-Term Benefits
Sealing your marble countertops is not merely a maintenance task; it's an investment in the longevity and enduring beauty of your luxurious surfaces. By taking these proactive steps, you ensure that your marble remains a stunning focal point, resisting the challenges of daily life and maintaining its exquisite appearance for generations. For homeowners and design professionals in Southwest Florida, understanding and implementing proper sealing practices is key to maximizing the value and aesthetic appeal of natural stone installations, ensuring that every marble surface continues to exude timeless elegance and sophistication.
If you have any doubts or your marble requires specialized care, do not hesitate to consult with a professional stone restoration and maintenance expert. They can provide tailored advice and services to keep your marble in impeccable condition.
Enjoyed this article?
Share it with someone who might find it useful.